This guide shows you how to add the things you sell to your studio, how to pick the right photo, and how to tell us what each product is and how it's used. Get these right once and every picture you make with them comes out better.
Add a product
Your products live on the Products page - click Products in the menu on the left. Each product is added once and kept for every future shoot.
Click Products in the menu. The page is called Add your product images.
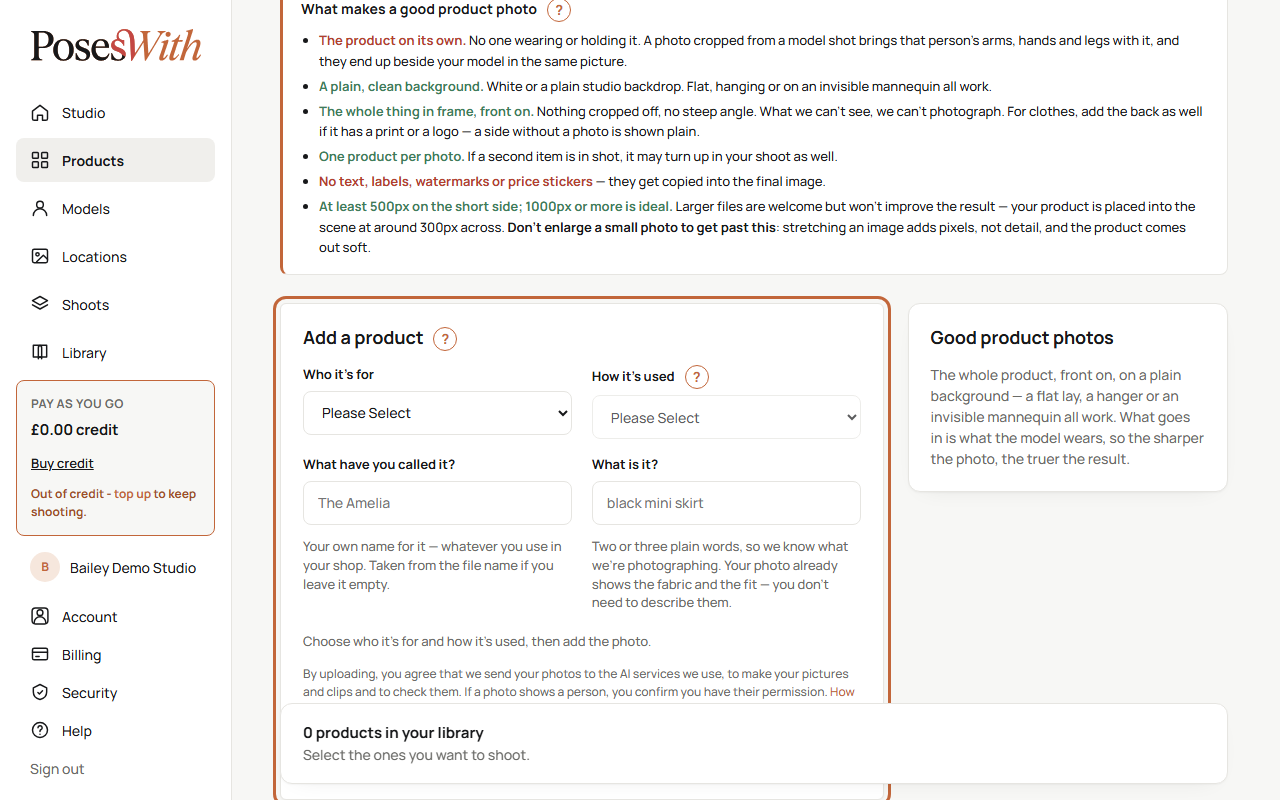
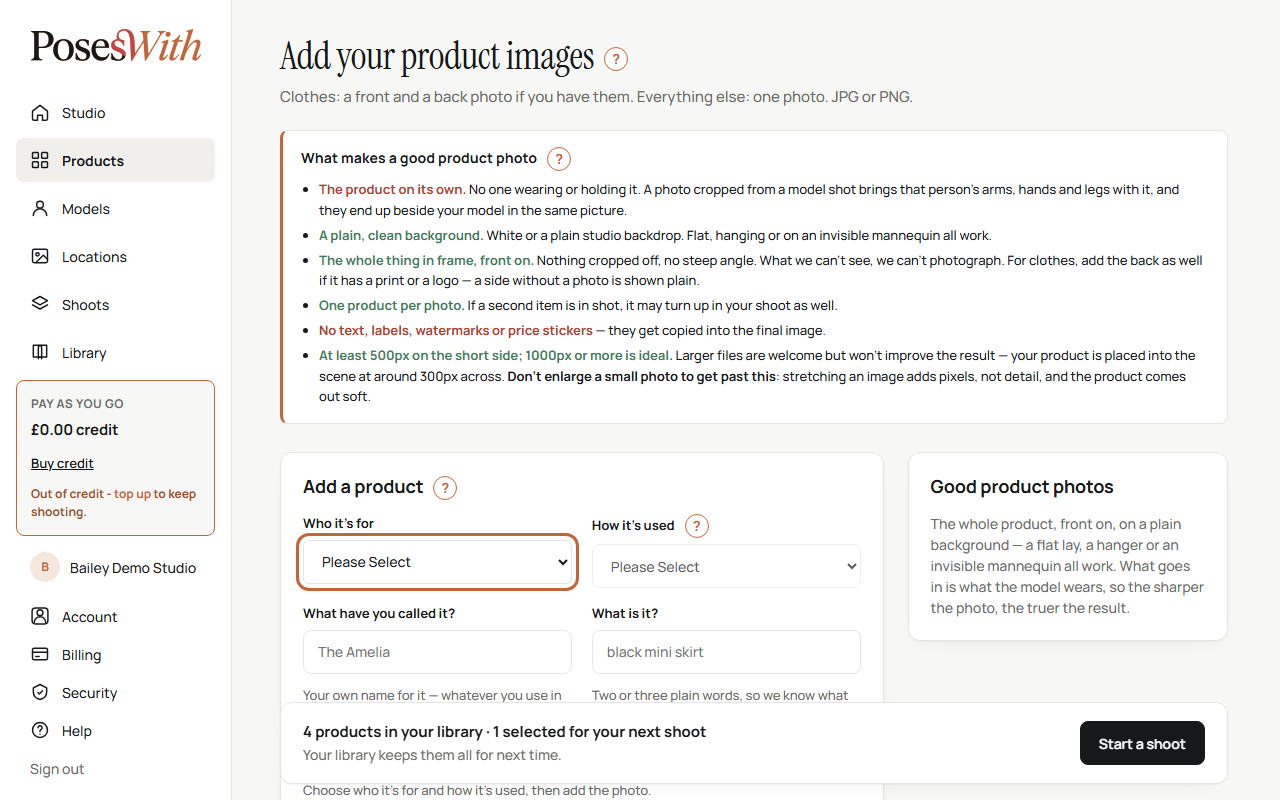
In the Add a product box, choose Who it's for: Women, Men, Unisex (Both) or Pets.
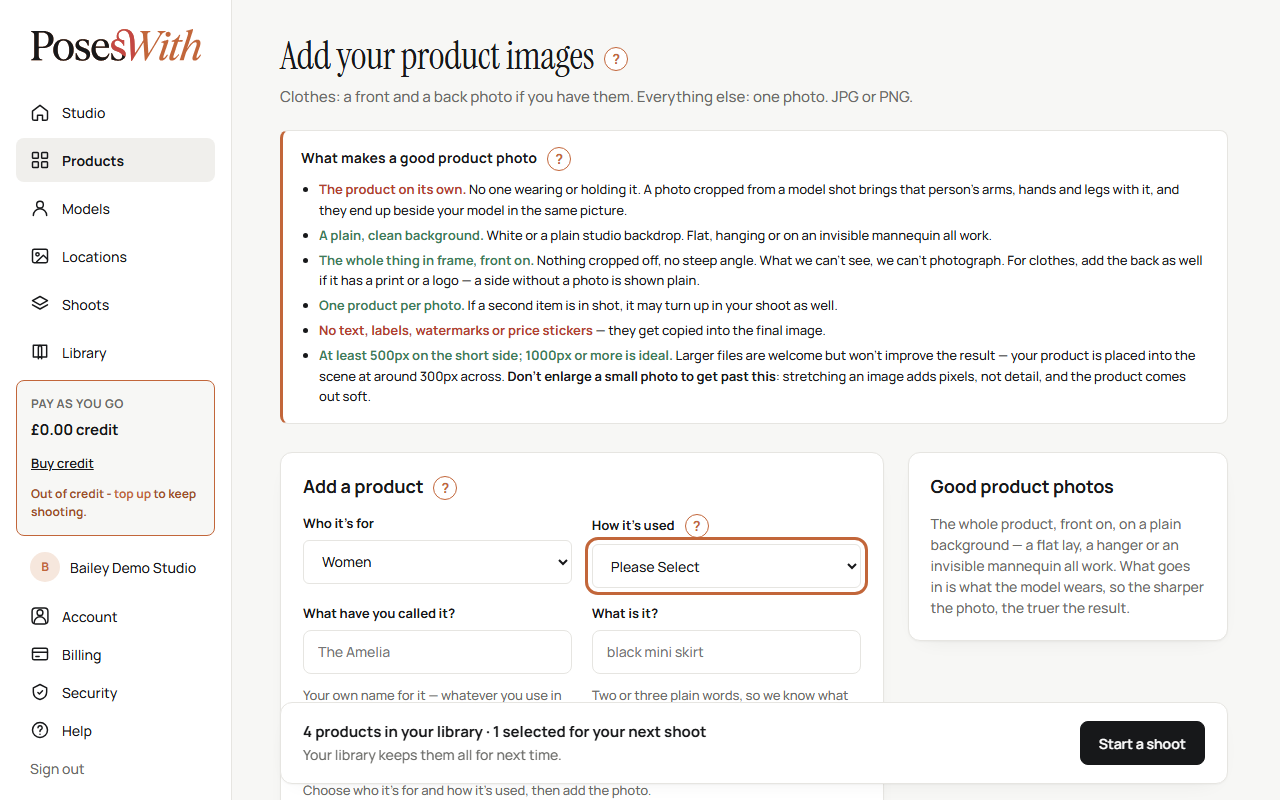
Choose How it's used. The list changes with who it's for - pets have their own choices. See How a product is used for what each one means.
Once both are chosen, the photo box appears. Clothes get two boxes, Front and Back. Everything else gets one box, Product photo. Drag your photo onto the box, or click the box to find the photo on your computer or phone. Click Remove under a box to take a photo out again.
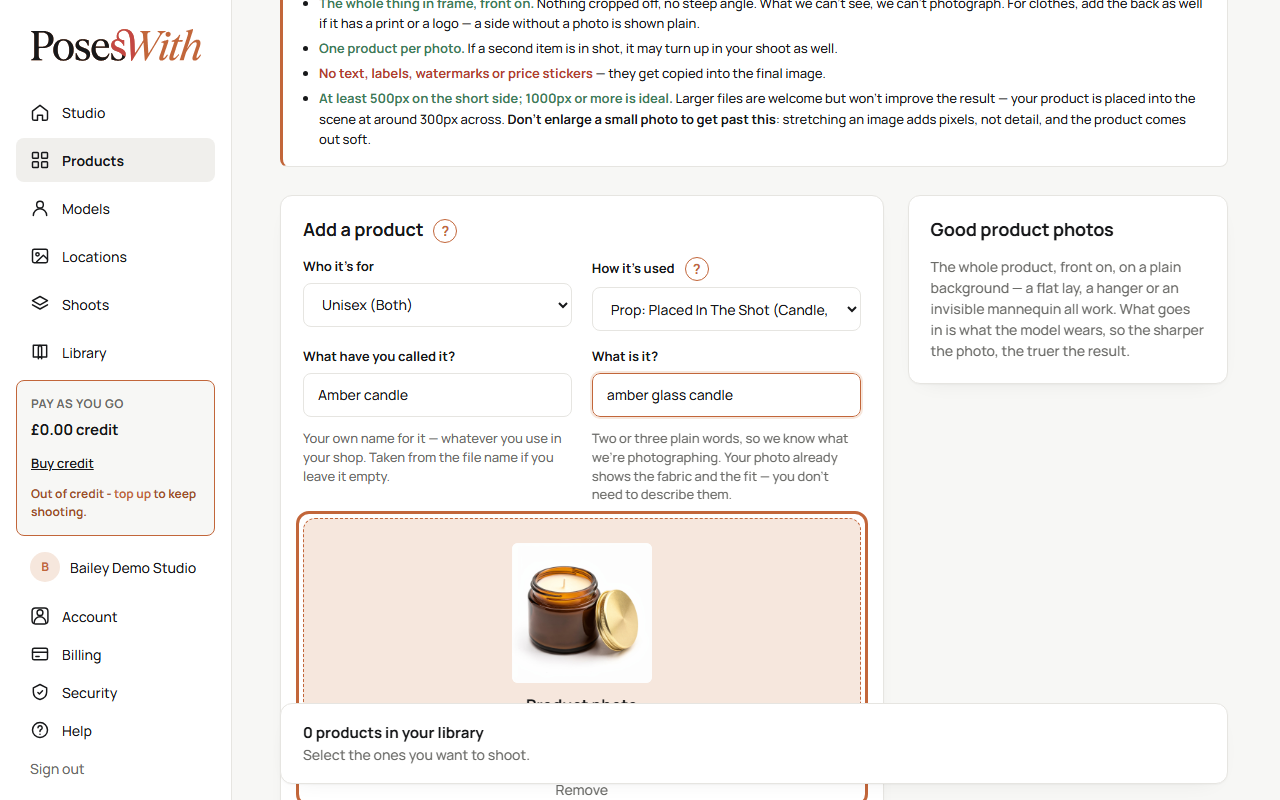
Fill in What have you called it? - your own name for it, the one you use in your shop (for example The Amelia). Leave it empty and we take the name from the photo's file name.
Fill in What is it? - two or three plain words, so we know what we're photographing (for example black mini skirt). Your photo already shows the fabric and the fit, so you don't need to describe them.
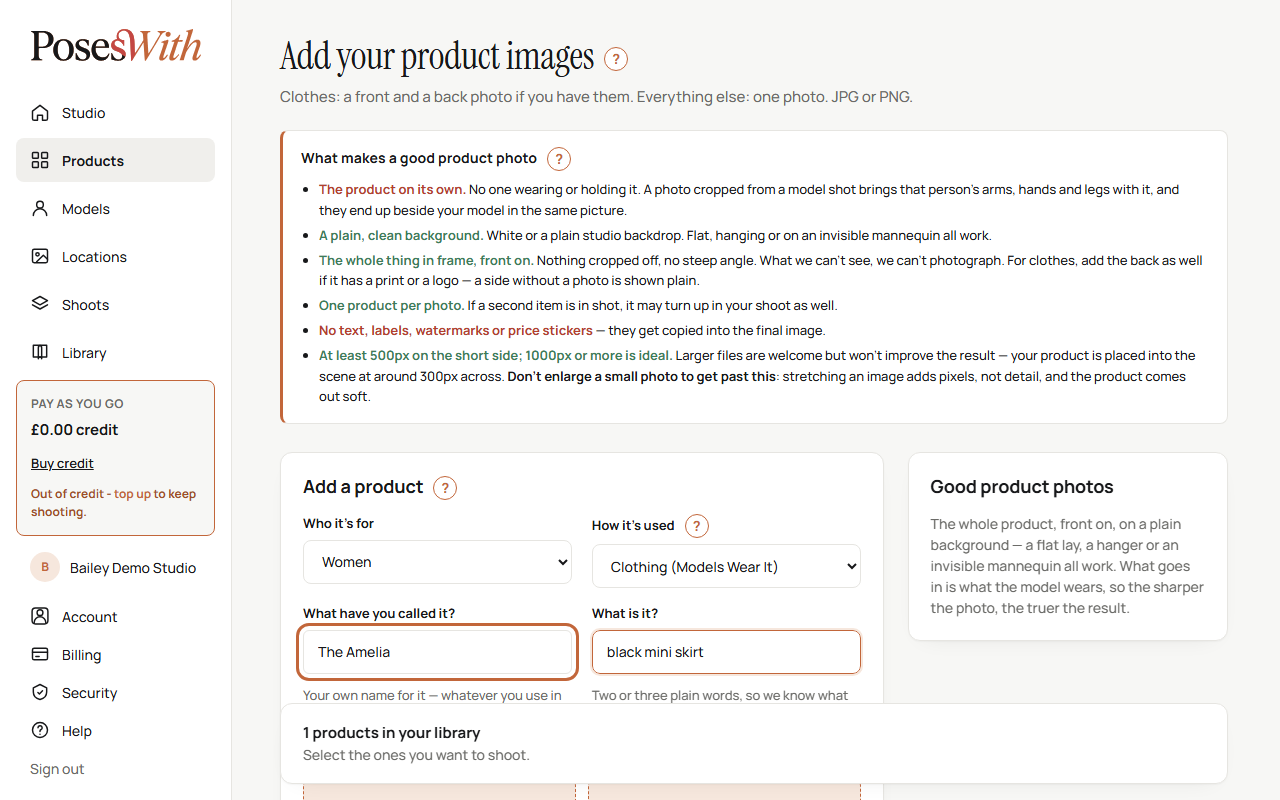
Click Add product. Your product appears in the list below, and we check its photo straight away - see The photo check.
Photos must be JPG or PNG. The text under the photo boxes explains what happens to your uploads - by uploading, you agree that we send your photos to the AI services we use, to make your pictures and clips and to check them. If a photo shows a person, you confirm you have their permission. Click How we use your uploads to read more.
Tip: Keep What is it? short and plain - "black mini skirt", not a long description. The photo does the describing.
How a product is used
When you add a product, How it's used tells us what your models do with it in the picture - wear it, hold it, set it down beside them, or sit on it. Picking the right one matters more than anything else on the form.
The choices for Women, Men and Unisex (Both):
- Clothing (Models Wear It) - anything worn as an outfit: tops, dresses, trousers, skirts, coats, swimwear.
- Accessory (Models Carry It) - things your model carries or wears with an outfit, such as a handbag.
- Prop: Posed With / Held By The Model (Mug, Glass, Bag Of Coffee) - something your model can pick up and hold or pose with, such as a mug, a glass, a bottle or a bag of coffee.
- Prop: Placed In The Shot (Candle, Vase, Plant - On A Table Or Shelf) - something that is set down and never held, such as a candle, a vase or a plant pot. It sits on a table, worktop or shelf in the picture.
- Furniture In The Shot (Table, Sofa, Bench - Models Sit Or Lean On It) - something your models sit at, sit on or lean on, such as a table, a sofa or a bench.
The things in brackets are only examples. Pick the choice that matches what your models do with the product, even if it isn't listed.
The choices for Pets:
- They Wear It (Collar, Harness, Coat, Lead) - the animal wears it.
- They Play With It (A Toy) - the animal plays with it, such as a dog toy.
- Owners Carry It (Poo Bag Holder, Treat Pouch) - the pet's owner carries it, never the animal.
- They Use It Indoors (Bed, Crate, Cage, Cat Tree, Bowl) - the animal uses it in the room. These are for indoor locations only.
A placed prop isn't on anyone, so it works a little differently in a shoot: select it on the Products page to bring it into your shoot, then tick it on each shot you want it in. See Shoots.
Watch out: Pick the choice that matches what the product really is. A candle entered as furniture, or a vase entered as something the model holds, makes odd pictures - and the product's tile shows a Check note. See Check notes.
You can change How it's used later - see Edit a product.
Clothes: front and back photos
When you choose Clothing (Models Wear It) for women, men or unisex, you get two photo boxes side by side: Front and Back.
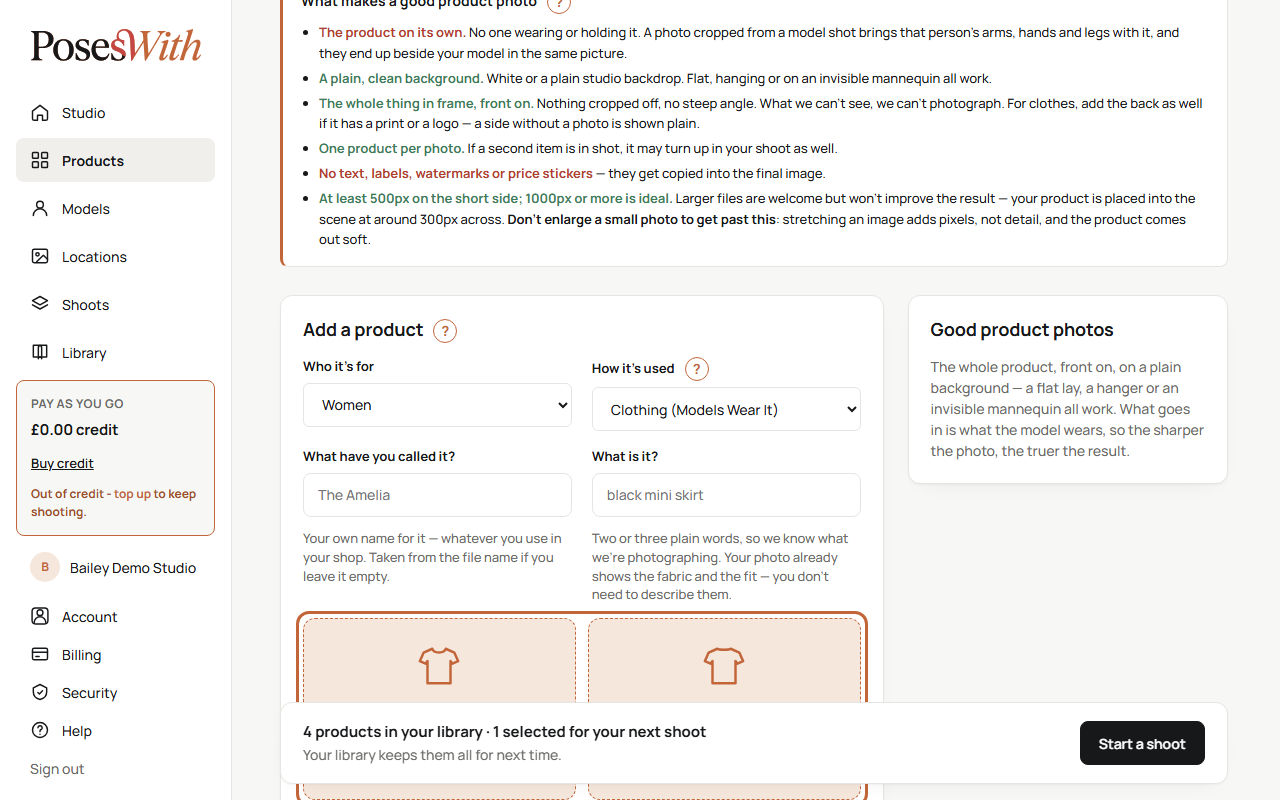
- Add one or both. A side without a photo is shown plain - no print or logo.
- If the back has a print or a logo, add a back photo, or it won't appear in your pictures.
- If you only add the front, we make a plain back when a shot shows the back. If you only add the back, we make a plain front at the first shot. The product's tile says which you have, for example Front and back or Front only - back made plain for a Back view shot.
Put a photo in the wrong box? Open the product with Edit and click Swap front and back. See Edit a product.
What makes a good product photo
Your product photo is what your models wear, hold or use, so the better the photo, the truer your pictures. The box at the top of the Products page, What makes a good product photo, sums it up:
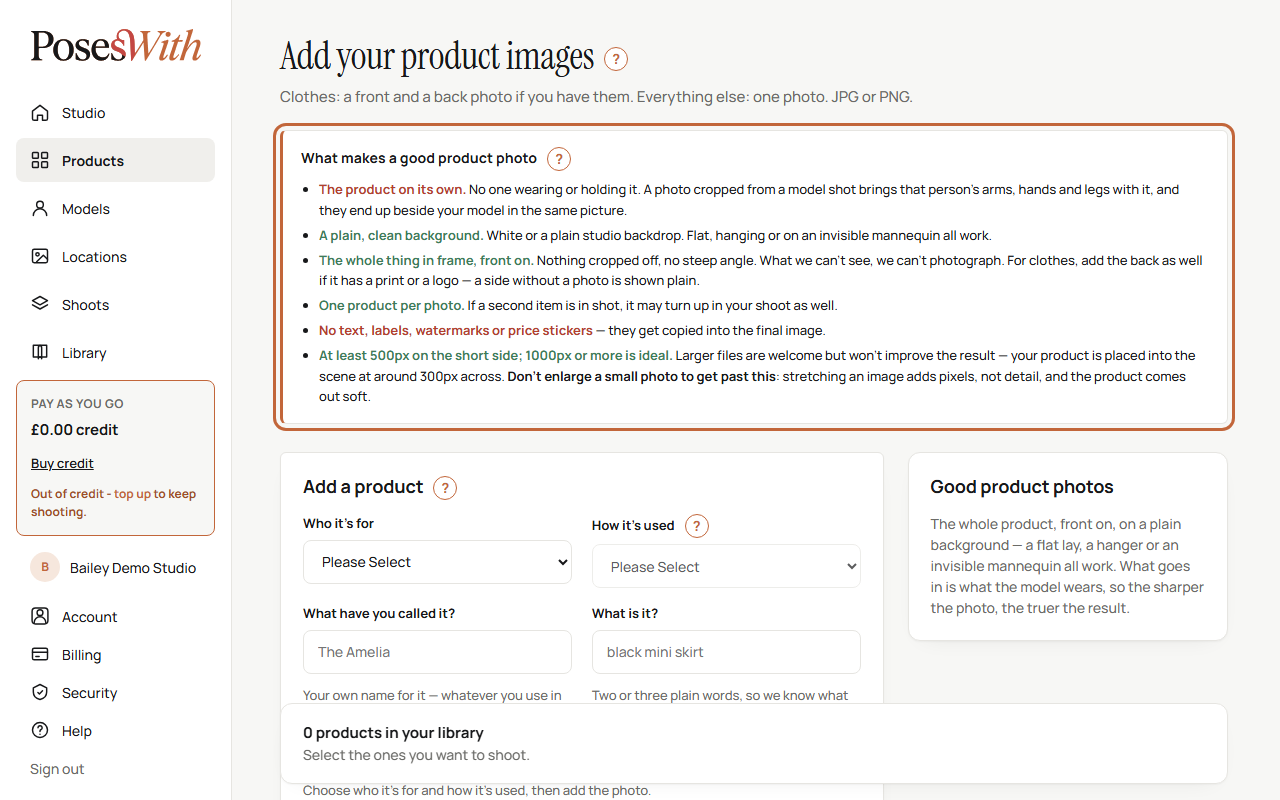
- The product on its own. No one wearing or holding it. A photo cut from a model shot brings that person's arms, hands and legs with it, and they end up beside your model in the same picture.
- A plain, clean background. White or a plain studio backdrop. Flat, hanging or on an invisible mannequin all work.
- The whole thing in frame, front on. Nothing cut off, no steep angle. What we can't see, we can't photograph.
- One product per photo. If a second item is in the photo, it may turn up in your shoot as well.
- No text, labels, watermarks or price stickers - they get copied into the final picture.
- At least 500px on the short side; 1000px or more is ideal. Bigger files are welcome but won't improve the result.
Watch out: Don't enlarge a small photo to get past the size limit. Stretching a photo adds pixels, not detail, and the product comes out soft. Use the original, or optimise the photo instead - see Optimise a photo.
Tip: Many shop platforms show photos as WebP or AVIF files. We can't use those - save them as JPG or PNG first.
The photo check
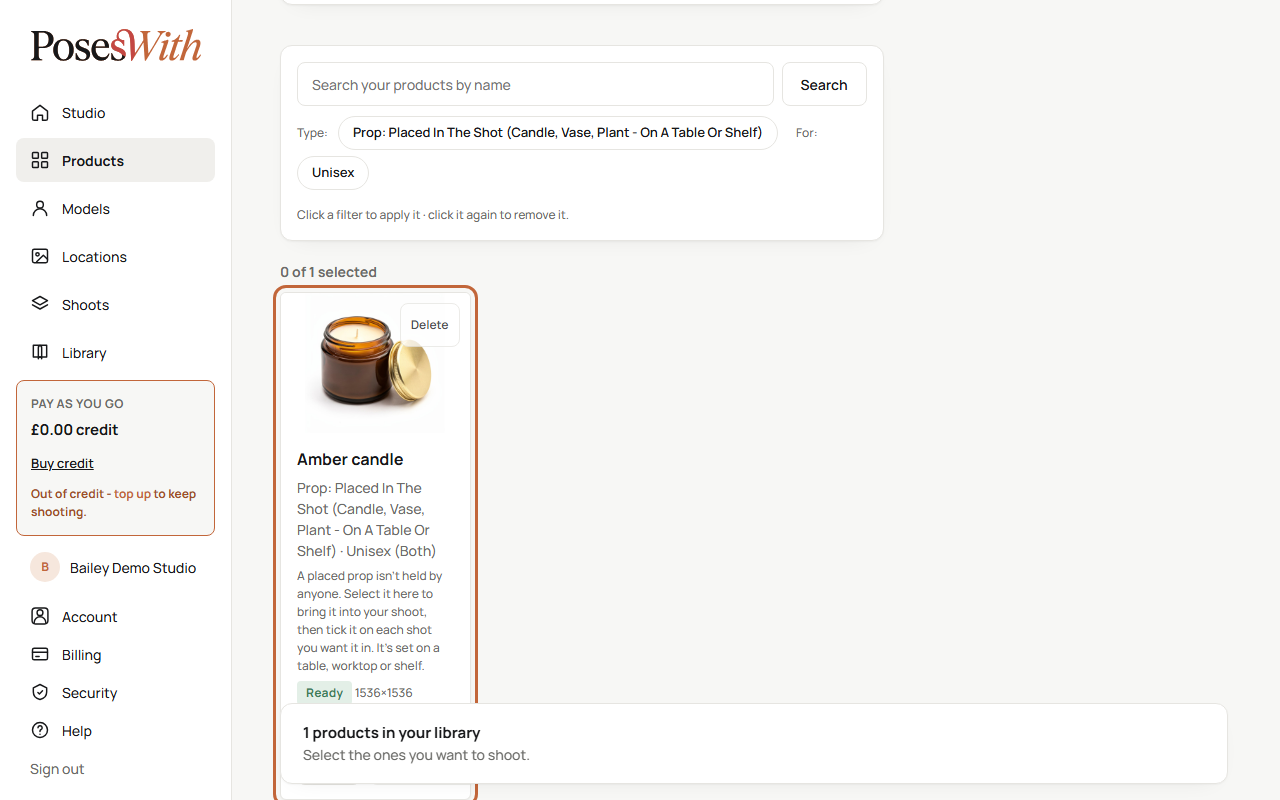
Every photo you upload is checked by us straight away. You can't select a product until its photo has been checked. The tile shows where it is:
- Checking the photo… - it only takes a few seconds. The Select button says Checking… until it's done, and the tile updates by itself.
- Not checked yet - we couldn't check the photo just now. We try again automatically, and you can use the product once it's checked.
- Ready - the photo passed and the product is ready to use.
- Small - the photo is usable, but under 1000px on its short side. The tile also says Optimise recommended: at this size its quality or design may drift in your pictures.
- Optimise recommended - the photo can be used, but it is unclear, or shows more than the product (a person, other items or a room). The tile says why. Optimising it keeps your pictures true to the product.
- Optimise first - the photo shows a person's face or hair. There's no Select button: you need to optimise the photo before you can use the product. See Optimise a photo.
- Under review - this product can't be used while we take a look at its photo. We email you to say why.
Watch out: Where a tile says Optimise recommended and you use the product anyway, a picture that goes wrong because the photo wasn't optimised can't be refunded.
Optimise a photo
Optimising turns your photo into the product on its own, on white, and uses that in every shot. Your original photo is kept. It's the quickest fix for a photo that is small, unclear, or has a person or other things in it.
The Optimise button only shows on products whose photo needs it. A good, clean product photo doesn't need it.
On the product's tile, click Optimise. The button shows the price.
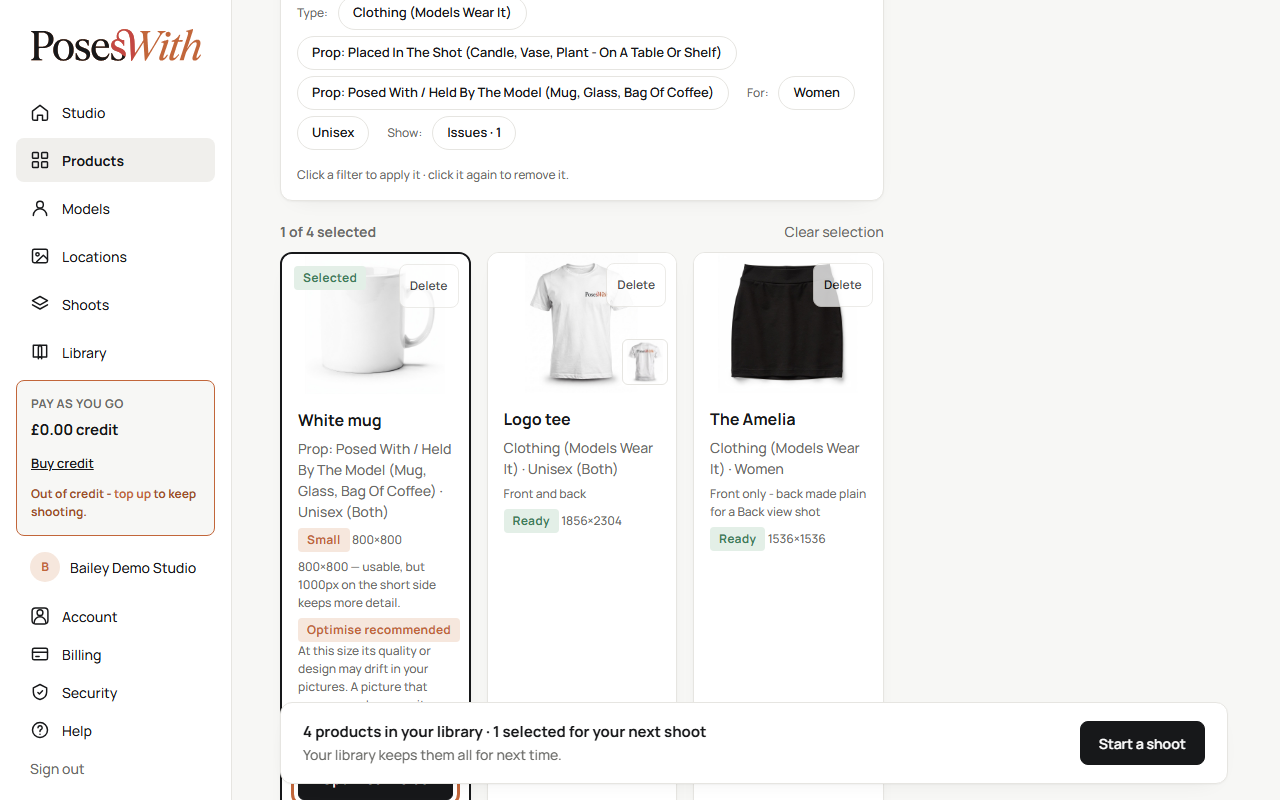
A window asks you to confirm. Click Optimise for and the price.
The tile says Optimising the photo…. It takes about a minute, and the page updates by itself.
When it's done, the tile says Optimised - shots use the product on its own.
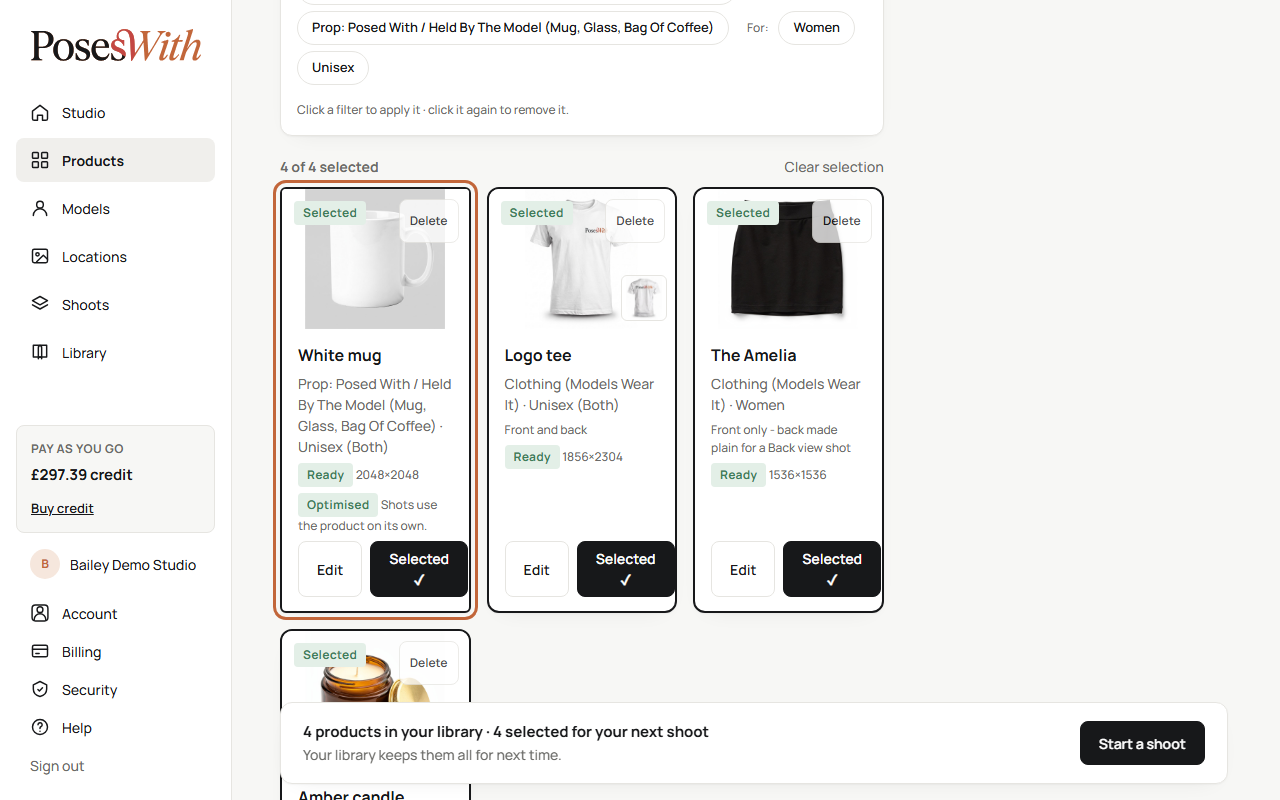
If the photo doesn't come out, the tile says We couldn't optimise this photo, so your original is kept, and you aren't charged. If the photo shows a person's face we can't fully hide, we don't send it or charge you - upload a photo without a person's face instead.
You need enough credit to optimise. If you don't have enough, a message tells you the price - add credit and try again. See Credit and billing.
Tip: When you open an optimised product with Edit, you see the new photo marked Optimised, and under it your old photo marked discarded. Your old photo is kept on file, but only the optimised one is used.
If an upload is refused
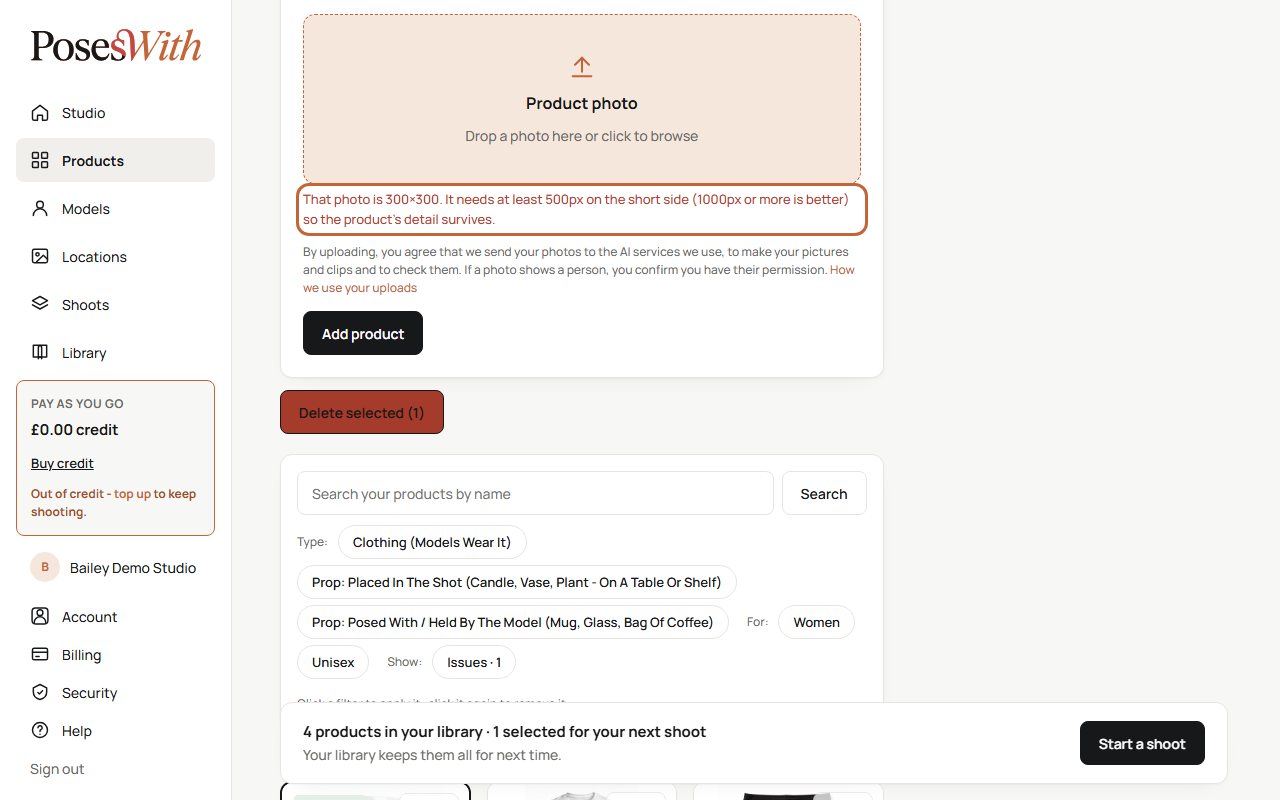
If something is wrong with the form or the photo, the product isn't added and a red message under the box tells you why:
- Choose who it's for. or Choose how it's used. - pick an option from both lists first.
- Choose a product photo. - add a photo to the box. For clothes: Add a front or a back photo - or both.
- The photo must be 20 MB or smaller. - use a smaller file.
- That file isn't a JPEG or PNG image. - save it as JPG or PNG first. WebP and AVIF photos aren't accepted.
- That photo couldn't be opened - it may be damaged. - save it again as a JPG or PNG and try again.
- That photo is (its size). It needs at least 500px on the short side - use a bigger photo. Don't stretch a small one.
Check notes
The first time a product is used in a shot, we look at its photo beside what you told us about it. If something doesn't add up, the product's tile shows a Check note with one short sentence saying what's wrong.
A Check note usually means one of these:
- What you chose under How it's used or What is it? doesn't match the photo - for example, a candle entered as furniture.
- Someone is wearing the product in the photo.
- The photo shows more than one product.
- The photo is too unclear to read.
To fix it, click Edit on the tile and correct the details, or add a better photo as a new product. Your next shot reads the product again. See Edit a product.
Tip: Use the Issues filter above your products to see every product with a Check note, a small or unclear photo, or anything else that needs you.
Select products for a shoot
Selecting a product puts it in your next shoot. You can select as many as you like, up to 30.
Click Select at the bottom of a product's tile. It changes to Selected ✓, and the tile is marked Selected.
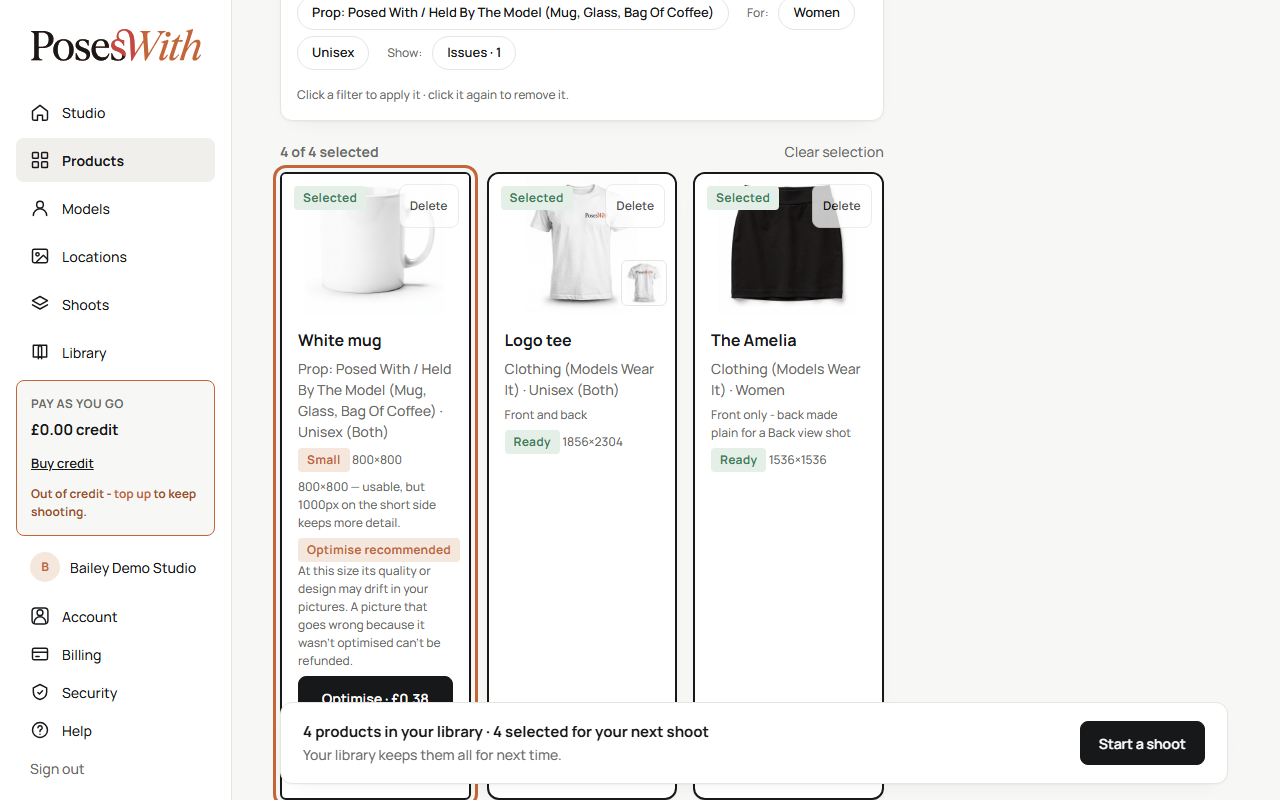
Click Selected ✓ again to take it out.
Click Clear selection above the list to take them all out at once.
The bar at the bottom of the page counts your products and how many are selected. Its button takes you to the next step - for example Choose models to start a shoot, or Start a shoot once you have products, models and a location.
When your shoot starts, the selection clears, ready for the next one. Your products stay in your library.
If you try to select a product that isn't ready, a message says why - its photo is still being checked, it needs optimising first, or it's under review. If the photo is small, it's selected, but a message recommends optimising it.
Edit a product
You can change a product's details at any time.
Click Edit on the product's tile. The form at the top changes to Edit and the product's name.
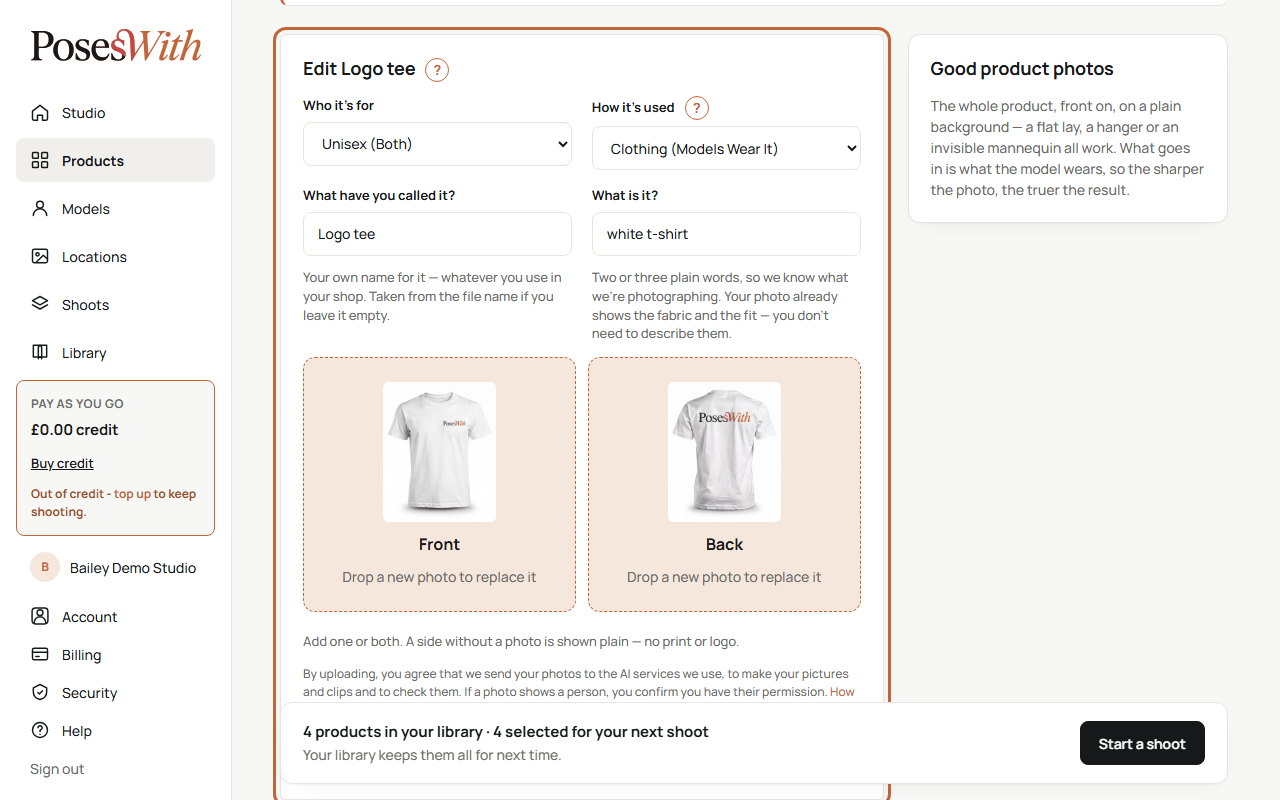
Change Who it's for, How it's used, What have you called it? or What is it?.
Click Save changes, or Cancel to leave it as it was.
About the photo:
- For anything that isn't clothing, the photo can't be changed - a new photo is a new product. Add it as a new product, then delete the old one.
- For clothing, you can add or replace the front or back photo here. Drop a new photo onto the box to replace it.
- Swap front and back moves a clothing photo that's in the wrong box.
- If the photo needs it, an Optimise button sits beside Save changes. Any unsaved changes on the form are not saved when you optimise.
When you save changes, your next shot reads the product again with the new details.
Find a product
Once you have products, a search box and filters appear above your list.
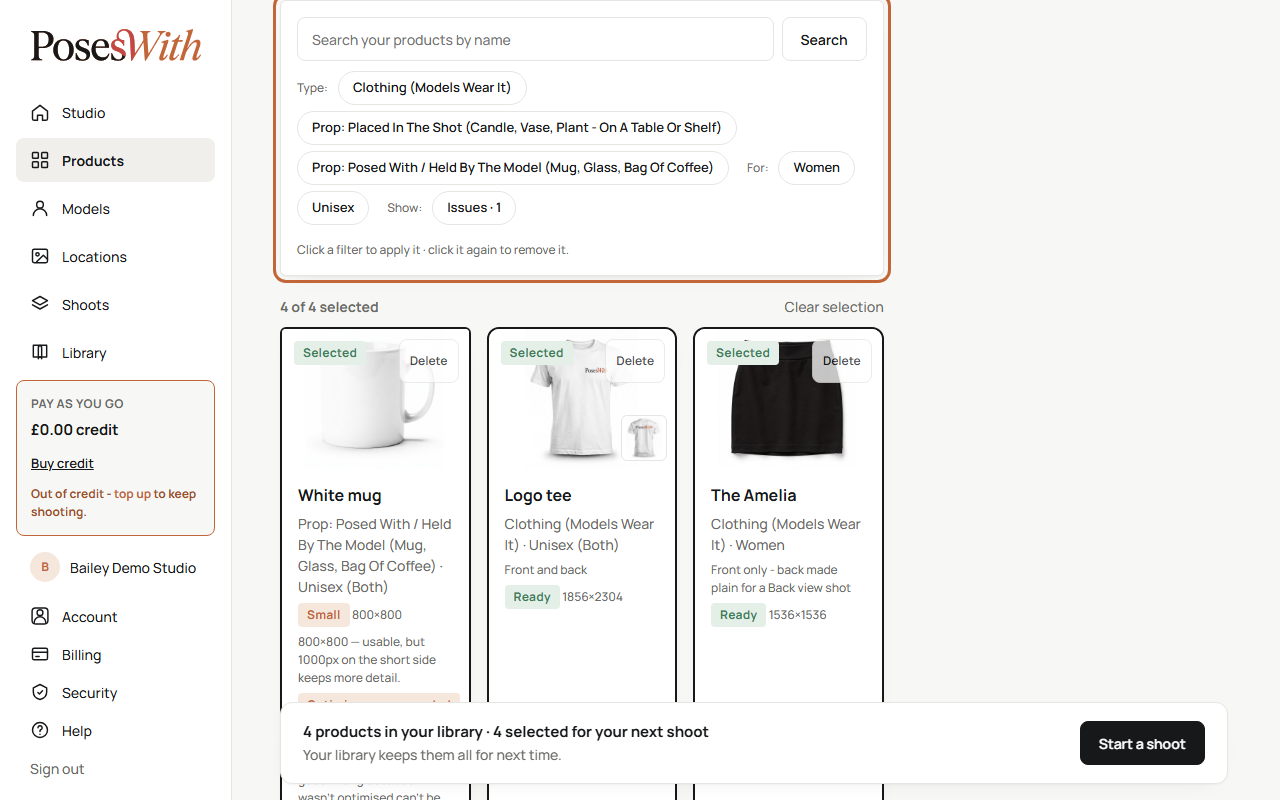
- Type part of a product's name in Search your products by name and click Search.
- Type: shows only one kind of product, for example clothing.
- For: shows only products for Women, Men, Unisex or Pets.
- Show: Issues shows only products that need your attention.
- Click a filter to apply it, and click it again to remove it. Clear shows everything again.
Your products show 24 to a page. Use the page numbers under the list to move between pages.
Delete products
- Click Delete at the top of a product's tile.
- A window asks you to confirm. Click Delete.
To delete several at once, select them, then click Delete selected under the Add a product form. It shows how many are selected.
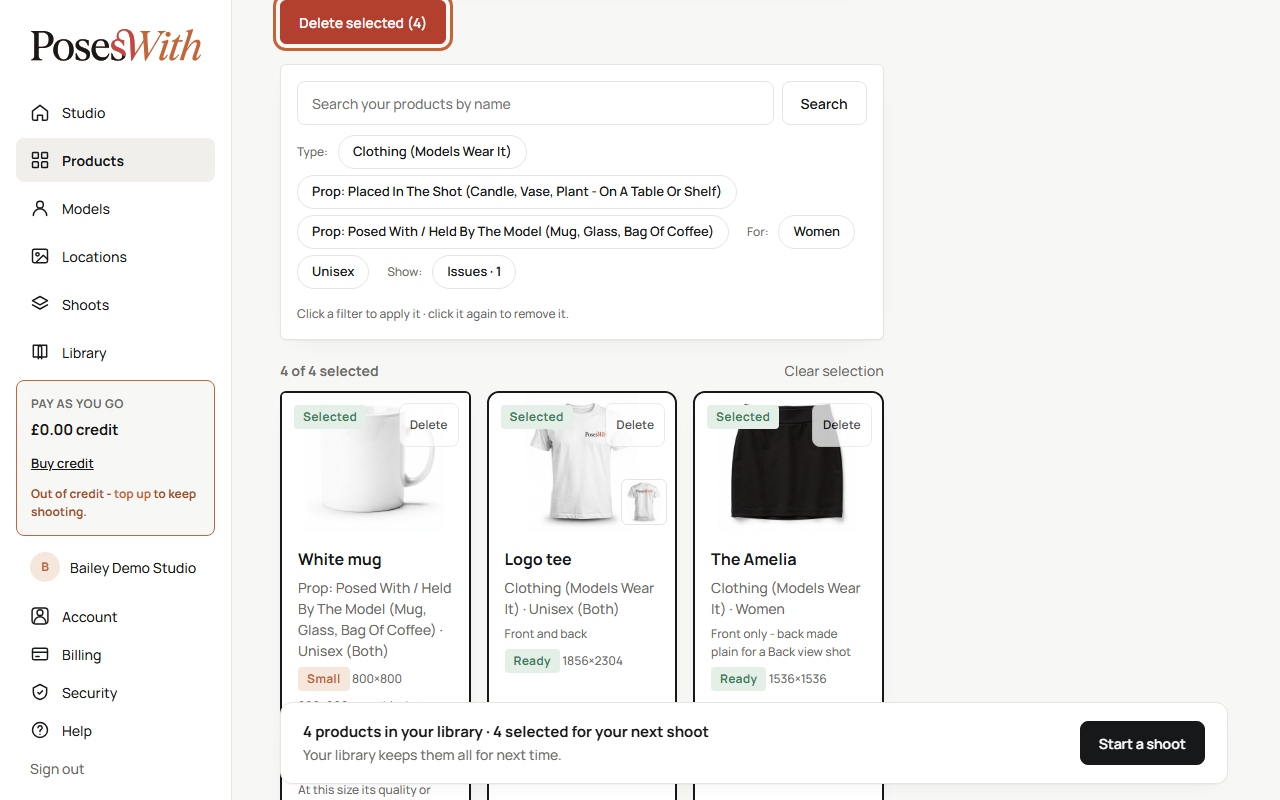
Shoots you've already made with a product keep their pictures.
Watch out: Deleting can't be undone. If you need the product again, add it again.
Your first shot takes a little longer
The first shot on a shoot may take a little longer while its products are prepared - for example, a plain front is made for clothing that only has a back photo. Later shots on the same shoot go at the normal pace. See Shoots.
What next
Choose who wears, holds and uses your products: Models.